

Ceiling Water Leak Repair Near Me: Emergency Steps, Who to Call, and What It Costs
A water ceiling leak is not a “wait and see” problem. Water above your head can spread silently, weaken drywall, saturate insulation, and reach electrical wiring faster than most homeowners expect.
The real goal is not just stopping the drip — it is stopping the chain reaction that begins once moisture gets trapped inside a ceiling cavity.
Handled early and in the right order, many ceiling leaks stay manageable. Handled late or incorrectly, they often expand into structural repairs, electrical hazards, and expensive restoration work.
This guide walks you through the safest first steps, who to call locally, realistic repair costs, and how to avoid the costly mistake of fixing the ceiling before the leak source is fully controlled.
“Near me” here means fast response + the correct trade, not simply the closest ad.
60-Second Emergency Checklist (Do This Before You Call Anyone)
- Electrical safety first
- If water is near a ceiling light or fan, turn OFF the breaker for that area.
- Do not touch wet fixtures or switches until power is confirmed off.
- Catch water immediately
- Place a bucket under the drip, lay down towels, and move furniture or rugs out of the splash zone.
- Drain a bulging ceiling safely
- A sagging pocket can hold several gallons.
- Make a small hole at the lowest point with a bucket underneath to prevent sudden collapse.
- Stop the water source if obvious
- Shut off fixture valves or the main supply if necessary.
- Avoid guessing while water continues spreading.
- Document quickly
- Photos and short video clips help if the situation turns into an insurance claim.
These steps reduce immediate risk while you line up the right professional.
Is a Leaking Ceiling an Emergency?
Often — yes.
A ceiling leak becomes urgent when:
- Water is actively spreading
- Drywall is bulging
- Moisture is near electrical fixtures
Even slower leaks can escalate because trapped water travels across framing and insulation before becoming visible.
When in doubt, treat the situation as time-sensitive rather than cosmetic. Early action typically limits both structural damage and total repair cost.
Who to Call “Near Me” (Fast Decision Rules)
Call a plumber first when:
- The leak sits below a bathroom, kitchen, laundry, or water heater
- You suspect a pipe, drain, toilet seal, shower pan, or supply line
- Your water bill recently increased alongside staining
Call a roofer first when:
- The leak appears after rain or wind
- It is near an exterior wall, skylight, chimney, or roof valley
- Stains grow following storms
Call water mitigation / restoration when:
- Drywall or insulation is soaked
- mitigation vs restoration
- The leak ran heavily for hours
- You need rapid drying to prevent secondary damage
Call drywall or paint contractors only after:
- The source is repaired
- The cavity is confirmed dry
Short rule: Source first → Drying second → Ceiling repair third. Patch first, and you will likely pay twice.
Experienced restoration professionals often note that ceiling stains rarely reveal the true spread of moisture — which is why early inspection matters.
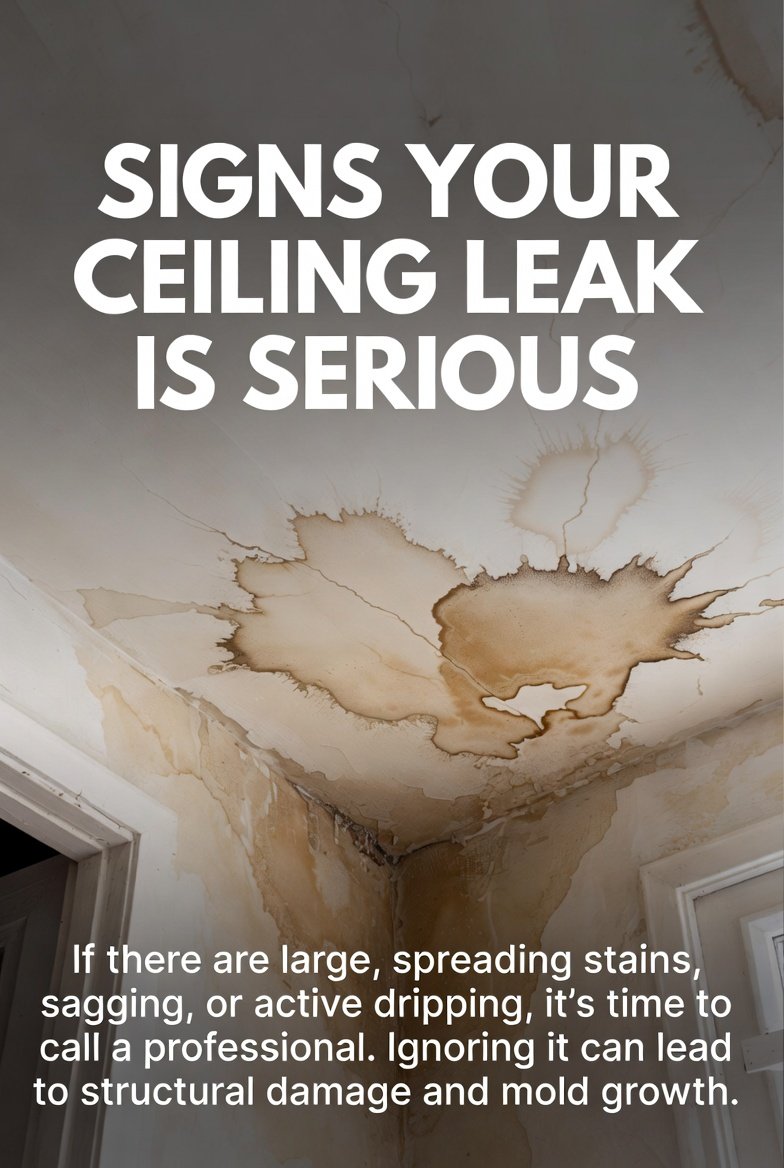
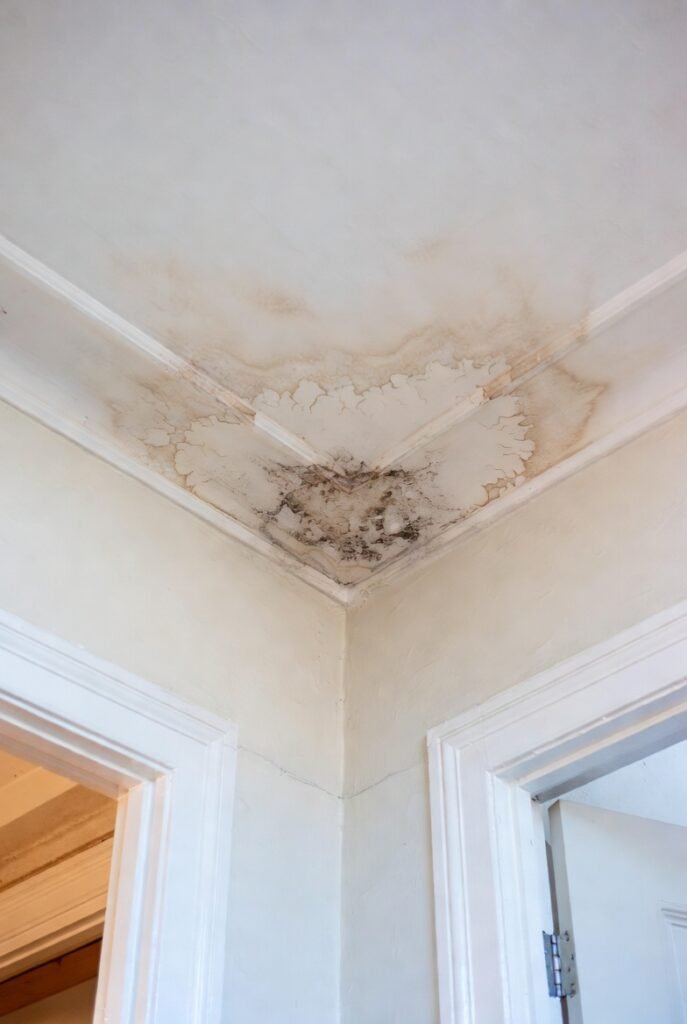
Signs Your Ceiling Leak Is Serious (Don’t Wait)
Seek professional help quickly if you notice:
- Sagging drywall
- Spreading cracks
- Continuous dripping
- Musty odor
- Dark spotting
- Water near wiring or fixtures
These signals suggest active moisture movement rather than an isolated cosmetic issue.
What Professionals Actually Do (So You Know What “Good” Looks Like)
A complete ceiling leak job typically follows three phases:
- Locate and stop the source
- Plumbers test supply and drain lines
- Roofers inspect flashing, penetrations, and attic spaces
- HVAC technicians check condensate systems when relevant
- Mitigate moisture
- Take moisture readings
- Build a drying plan
- Remove insulation that cannot dry safely
- Restore the ceiling
- Cut damaged drywall
- Replace and finish
- Match texture
- Prime and paint
If a quote only mentions paint or patching, it is incomplete.
Most Common Causes of Ceiling Leaks
Plumbing-related:
- Failed toilet seals
- Shower pan leaks
- Tub drain issues
- Loose fittings
- Pipe pinholes
HVAC-related:
- Clogged condensate lines
- Overflow pan problems
- Pump failures
Roof-related:
- Damaged flashing
- Missing shingles
- Penetration leaks
- Water backup from gutters
Identifying the likely category speeds up the repair path.
Typical Repair Timeline (What Most Homeowners Experience)
Situation | Timeline |
Minor fixture leak | Often resolved within hours |
Behind-ceiling plumbing repair | Typically one day plus drying |
Major saturation | Several days for drying before rebuild |
Structural restoration | May extend longer depending on damage |
Fast shutoffs almost always shorten the timeline.
Cost Ranges (Realistic — Not Overconfident)
Pricing varies by region, ceiling height, finish, and damage duration.
Ceiling drywall repair (after source is fixed):
- Often falls somewhere between the low hundreds and over a thousand depending on scope and finish complexity.
When water damage expands the job:
- Removing wet drywall, addressing insulation, running drying equipment, and refinishing can push totals into the high hundreds or beyond depending on severity.
Primary Cost Drivers
Driver | Why It Matters | What to Ask |
Texture matching | Labor intensive | “Will texture and paint match?” |
Ceiling height | Access time | “Is height included?” |
Wet insulation | Holds moisture | “Will insulation be checked?” |
Electrical proximity | Safety review | “Do we need an electrician?” |
Leak duration | “How will dryness be confirmed?” |
A Detail Many Homeowners Miss: Popcorn Ceilings
If your ceiling has popcorn texture and the home is older, avoid disturbing it prematurely. Some ceilings may require testing before scraping or sanding.
Tell the contractor the texture type and approximate home age before work begins.
Most Expensive Mistakes Homeowners Make
- Waiting too long to shut off water
- Fixing drywall before stopping the source
- Approving demolition without confirmation
- Choosing solely on lowest price
- Skipping post-repair monitoring
Professionals often observe that delayed decisions — not pipe failures — drive the largest invoices.
Hiring a Local Ceiling Leak Repair Pro (Without Getting Burned)
Ask:
- “Are you fixing the source or only the ceiling?”
- “How will you confirm the cavity is dry?”
- “Will insulation be inspected?”
- “What exactly is included — texture, primer, paint?”
- “What is your electrical safety process?”
- “Do you provide itemized invoices?”
- “Is there a workmanship warranty?”
- “What arrival window can you commit to?”
Clear answers usually reflect organized professionals.
Insurance Reality (Straightforward Version)
Policies are often more likely to cover sudden, accidental water damage than slow leaks tied to maintenance.
If you might file a claim:
- Document damage
- Mitigate further spread
- Describe observable facts rather than guesses
- Coverage varies by policy
- Homeowner insurance
Limitations (Straight Talk)
- This guide cannot diagnose your leak remotely
- Local labor rates and insurance endorsements differ
- Electrical risk may require a slower — but safer — response
Quick Decision Matrix
Step | Action |
Immediate | Breaker off if near fixtures → catch water → controlled drain if bulging |
Best first call | Plumber (most cases) or roofer (storm-related) |
Best when soaked | Mitigation professionals for rapid drying |
Follow that sequence and you usually avoid the worst-case version of this problem.
Bottom Line
Ceiling leaks reward speed — but punish rushed decisions.
Shut off power when necessary, control the water quickly, and bring in the right professional to stop the source before cosmetic repairs begin.
The right order keeps damage smaller, repairs targeted, and costs far more predictable.