

How to Fix a Water Leak: Safe DIY Methods, Temporary Patches & When to Stop
You hear a drip.
You open the cabinet.
A bead of water forms at a fitting.
At that moment, there are only two correct options:
- Stabilize it correctly.
- Escalate safely.
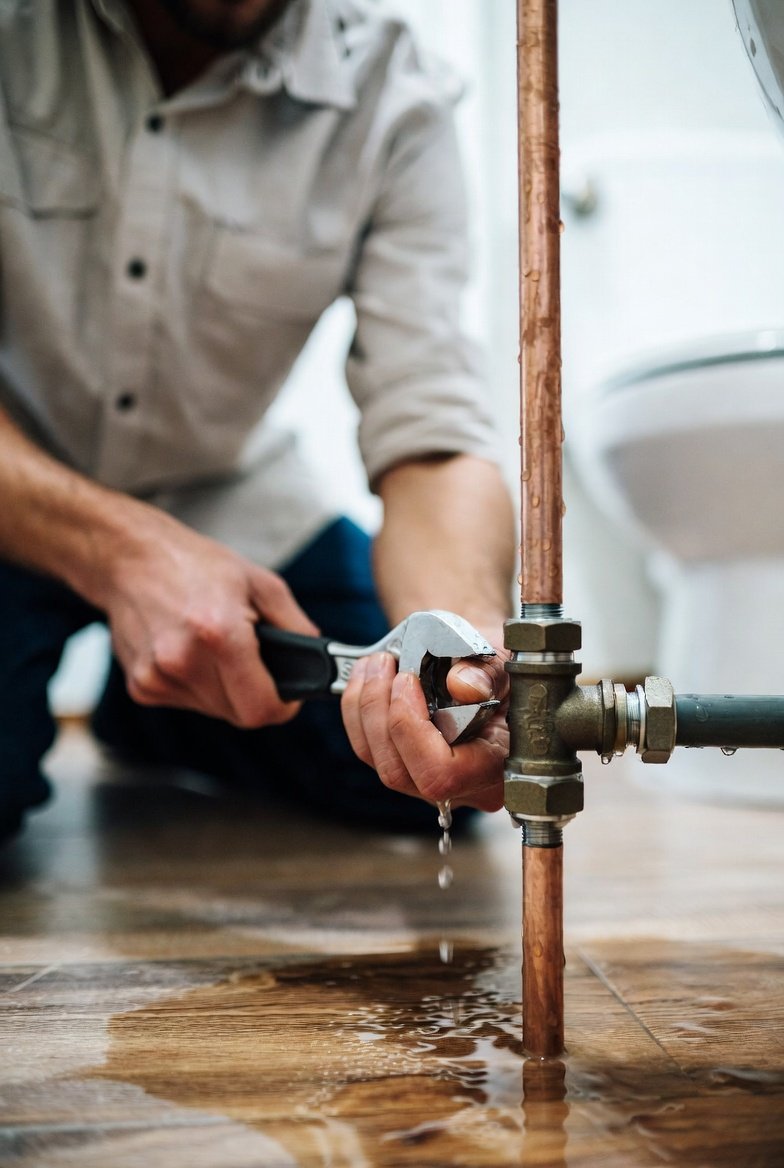
A quick twist of a wrench sometimes works.
Other times it cracks a ferrule, splits a compression ring, or hides a slow failure that shows up as a ceiling stain downstairs.
This guide explains:
- What is truly DIY-safe
• How to apply temporary patches correctly
• Why overtightening creates delayed failure
• How to reintroduce pressure safely
• Where the hard professional boundary is
Step 1: Safety First — Before You Touch the Leak
Before attempting any repair:
- Shut off the nearest fixture valve
• If unsure, shut off the main
• If water is near electrical fixtures, turn off the breaker
• Never stand in pooled water if electricity may be involved
If unsure whether the leak is active:
Why Water Leaks Start (Mechanical Logic)
Leaks are rarely random.
They usually result from:
- Seal degradation (rubber washers harden and crack)
• Thermal expansion (hot/cold cycling stresses joints)
• High water pressure (above ~60–70 PSI increases joint strain)
• Overtightening (cracks ferrules or damages threads)
• Corrosion / electrolysis
• Water hammer (pressure spikes when valves close abruptly)
Tightening a fitting that is leaking due to seal fatigue does not reverse fatigue.
It compresses weakened material further.
Replacement is often safer than force.
Decision Tree: Identify the Leak Type
Branch A — Visible Supply Line Leak (Pressurized)
Examples:
- Braided hose under sink
• Washing machine supply line
• Refrigerator water line
• Compression fitting drip
Correct Tightening Protocol
- Dry the area fully
- Tighten compression nut no more than ¼ turn at a time
- Never exceed gentle resistance
- Turn water back on slowly
- Observe under pressure
If drip persists after slight tightening → replace the hose or fitting.
Why Over-Tightening Fails
Compression fittings seal via ferrule compression.
Crushing the ferrule can:
- Crack the ring
• Distort pipe surface
• Create a delayed leak under pressure
If unsure, replace.
Temporary Emergency Patch (Short-Term Only)
Use only if replacement must wait:
- Pipe repair clamp
• Self-fusing silicone tape
• Epoxy putty (clean, dry pipe only)
Do NOT use duct tape.
It fails under pressure and moisture.
Temporary patch = hours or days, not months.
Branch B — Drain Leak (Non-Pressurized)
Examples:
- P-trap drip
• Slip joint leak
• Tub overflow seep
DIY steps:
- Tighten slip joint gently
• Replace washer
• Reseat trap properly
• Run controlled water test
Drain leaks spread slowly.
They soak cabinets and subfloor silently.
If staining appears below:
Branch C — Behind Wall or Ceiling
Signs:
- Expanding stain
• Bubbling paint
• Soft drywall
• Ceiling sag
DIY stops here.
Because the visible stain is rarely the failure point.
Correct sequence:
Opening cavities without moisture verification often creates larger repairs.
Branch D — Slab or Underground Leak
Signs:
- Warm floor spot
• Water bill spike
• Sound of water when fixtures are off
Slab leaks require detection equipment.
DIY attempts increase structural risk.
DIY vs Professional Boundary Matrix
Leak Type | DIY Safe | Temporary Patch | Professional Required
Visible hose | Yes | Yes (short-term) | No
Compression fitting | Yes (careful) | Yes (short-term) | No
Drain trap | Yes | Rarely needed | No
Behind-wall leak | No | No | Yes
Ceiling leak | No | No | Yes
Slab leak | No | No | Yes
Electrical involvement | No | No | Immediate
Why Fixing the Pipe Isn’t Always Enough
Water migrates into:
- Insulation
• Stud cavities
• Ceiling voids
• Subfloor layers
Even after drip stops:
- Insulation holds moisture
• Drywall remains damp internally
• Wood may stay above safe moisture range
Repair requires dryness verification.
If unsure:
Pressure Reintroduction Protocol (Critical)
After repair:
- Turn main valve on slowly
- Open one faucet to relieve air pressure
- Close faucet once flow stabilizes
- Inspect repaired joint under full pressure
- Recheck after 10 minutes
- Recheck after 1 hour
- Recheck next day
Rapid pressure shock can reopen weak fittings.
Post-Fix Verification Checklist
✓ No visible drips
✓ Stable water pressure
✓ No meter movement
✓ No recurring stain
✓ No soft cabinet base
✓ No odor after 24–48 hours
Verification prevents secondary damage.
⚠ Hard Stop Conditions
Call a professional if:
- Ceiling is sagging
• Insulation is wet
• Leak continues after tightening
• Electrical fixtures involved
• Leak origin unclear
• Water pressure fluctuates abnormally
Service pathway:
Temporary Patch vs Permanent Repair
Temporary:
- Slows leak
• Buys time
• Does not correct fatigue
Permanent:
- Replaces failing part
• Restores system pressure integrity
• Verifies dryness
• Prevents recurrence
Temporary patches left too long often fail catastrophically.
Risk Escalation Model
Loose fitting →
Cabinet saturation →
Subfloor swelling →
Ceiling staining →
Insulation collapse →
Electrical exposure →
Major repair
Early correction keeps damage local.
Cost Comparison
Scenario | DIY Cost | Professional Range
Replace hose | $15–$50 | $150–$300
Replace shutoff | $20–$75 | $150–$400
Behind-wall repair | Not advised | $500–$2,500
Ceiling repair | Not advised | $800–$3,500
Slab leak | Not DIY | $1,500–$6,000+
DIY saves money only when contained.
When to Call a Plumber Immediately
- Pressure drops suddenly
• Leak worsens after tightening
• Multiple fixtures affected
• Water reappears after repair
If still diagnosing:
how-to-find-a-water-leak-in-your-house
Prevention After Fix
- Replace braided hoses every ~5 years
• Keep water pressure ideally under ~60 PSI
• Install pressure regulator if needed
• Clean HVAC condensate lines
• Install leak sensors
Prevention reduces recurrence.
Frequently Asked Questions
Can I fix a water leak myself?
Yes, if the leak is visible and confined to a fitting or hose. Hidden or structural leaks require professional help.
What is the fastest way to stop a leak temporarily?
Shut off the water supply first. A pipe clamp or silicone tape can temporarily slow small pressure leaks.
Is tightening a fitting always enough?
No. If the seal or fitting is damaged, tightening only delays failure.
Can high water pressure cause leaks?
Yes. Excess pressure stresses fittings and accelerates seal wear.
How do I know if my repair worked?
Monitor for recurring moisture and confirm stable water meter readings for 24–48 hours.
What if I patch the pipe but see a ceiling stain later?
Moisture may have spread before the fix. Ceiling cavities require proper drying and inspection.
Is epoxy a permanent fix?
Epoxy can temporarily seal small pinholes but does not replace a failing pipe section.l